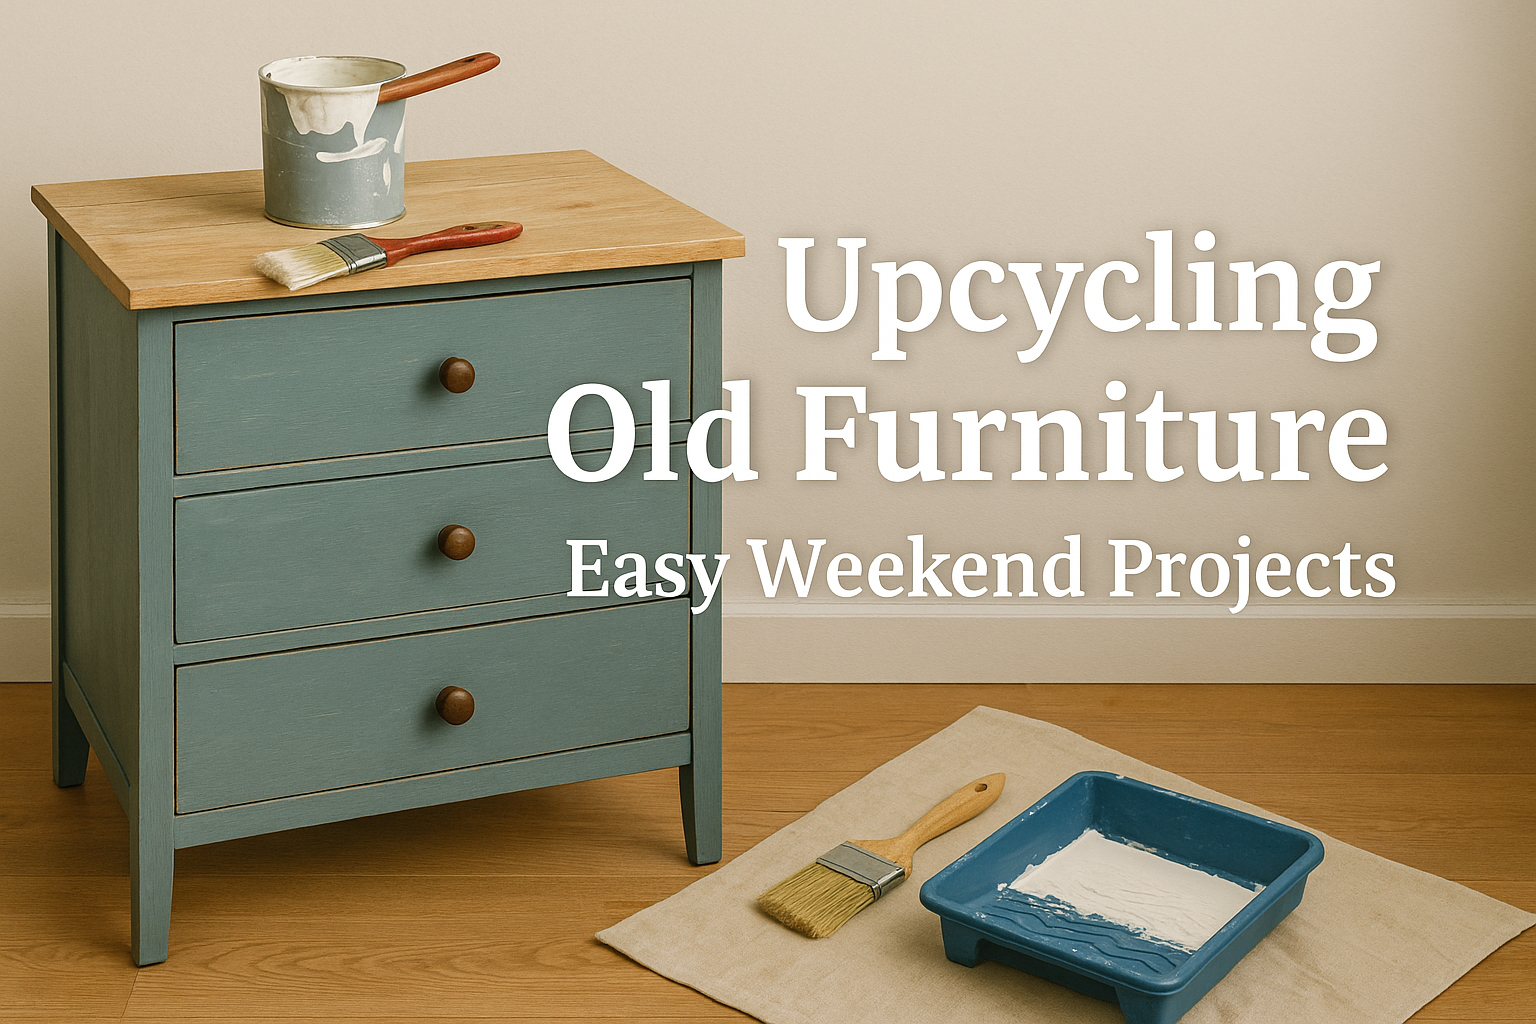
Looking to refresh your home without breaking the bank? These furniture upcycling ideas and DIY furniture projects are perfect weekend crafts that transform dated pieces into stylish showstoppers.
1. Why Upcycle Furniture?
Before you toss that worn-out dresser or tired coffee table, consider the benefits of upcycling:
- Eco-Friendly: Reduce waste by giving old pieces new life.
- Cost-Effective: Spend a fraction of retail prices on materials.
- Customizable: Tailor colors, finishes, and hardware to your style.
- Sense of Accomplishment: Enjoy the pride of creating something unique.
2. Getting Started: Tools & Materials
Gather these basics before diving into your DIY furniture projects:
- Sandpaper (120–220 grit) or an electric sander
- Primer and chalk or latex paint in your chosen colors
- Paintbrushes, foam rollers, and drop cloths
- New hardware (knobs, pulls) or decorative accents
- Wood glue, nails, and basic hand tools (hammer, screwdriver)
- Optional: decoupage paper, stencils, or upholstery fabric
3. Weekend Craft Projects
3.1 Chalk-Paint Revamp
Chalk paint adheres easily to most surfaces—no stripping required. Steps:
- Clean & Sand: Wipe furniture clean, sand lightly for better adhesion.
- Prime (Optional): Apply a primer if the piece has a glossy finish.
- First Coat: Brush on chalk paint; let dry 1–2 hours.
- Second Coat: Add a second coat, then lightly distress edges with sandpaper.
- Seal: Finish with clear wax or matte polyurethane to protect.
3.2 Hardware Swap & Accent Details
Sometimes a small change makes a big impact:
- Remove outdated knobs and pulls; replace with brass, ceramic, or leather-wrapped hardware.
- Use decorative molding or appliqués to add visual interest to plain drawer fronts.
- Apply metallic leaf accents (gold or silver) to corners or edges for subtle glam.
3.3 Decoupage & Pattern Play
Transform tabletops, dresser drawers, or chair backs with patterned paper:
- Trim decoupage paper (wrapping paper, wallpaper remnants) to fit surface.
- Brush on a layer of decoupage medium (Mod Podge), place paper, smooth bubbles.
- Seal with 2–3 coats of medium—allowing drying time between layers.
3.4 Repurposed Ladder Shelf
Convert an old wooden ladder into a chic shelving unit:
- Clean and sand the ladder; paint or stain as desired.
- Secure wide boards (reclaimed planks or plywood) across rungs to create shelves.
- Anchor the top to the wall for safety, then style with books and décor.
3.5 Upholstery Refresh
Give a tired chair or bench a fabric makeover:
- Remove old fabric and batting; inspect foam for damage.
- Cut new foam to size if needed; wrap with batting for smoothness.
- Position new upholstery fabric (velvet, canvas) and staple securely underneath.
4. Tips for Success
- Test Colors: Paint small swatches before committing to a full coat.
- Work in Layers: Multiple thin coats prevent drips and uneven texture.
- Protect Your Workspace: Use drop cloths and wear gloves to avoid mess.
- Measure Twice: Double-check dimensions for shelving and hardware placement.
- Embrace Imperfections: Light distressing or visible brush strokes add character.
5. Frequently Asked Questions
Q1: How do I choose the right piece to upcycle?
A1: Start with solid-wood furniture in good structural condition—avoid pieces with severe water damage or wood rot.
Q2: Can I use outdoor paint for indoor furniture?
A2: While outdoor paint is durable, it may emit stronger fumes. For best results indoors, choose low-VOC chalk or latex paint.
Q3: How long does a typical weekend project take?
A3: Most paint and decoupage projects can be completed in 1–2 days, accounting for drying time. Upholstery or structural builds may require an extra day.
6. Conclusion & Next Steps
With these furniture upcycling ideas and simple DIY furniture projects, you can transform dated pieces into custom décor during your next weekend crafts session. Start by picking one project that excites you—whether it’s a quick chalk-paint makeover or a repurposed ladder shelf—and gather your supplies. Embrace the creative process and enjoy the satisfaction of breathing new life into your home!
If you try any of these projects, share your results in the comments or tag us on social media for inspiration! Happy upcycling!

Leave a Reply