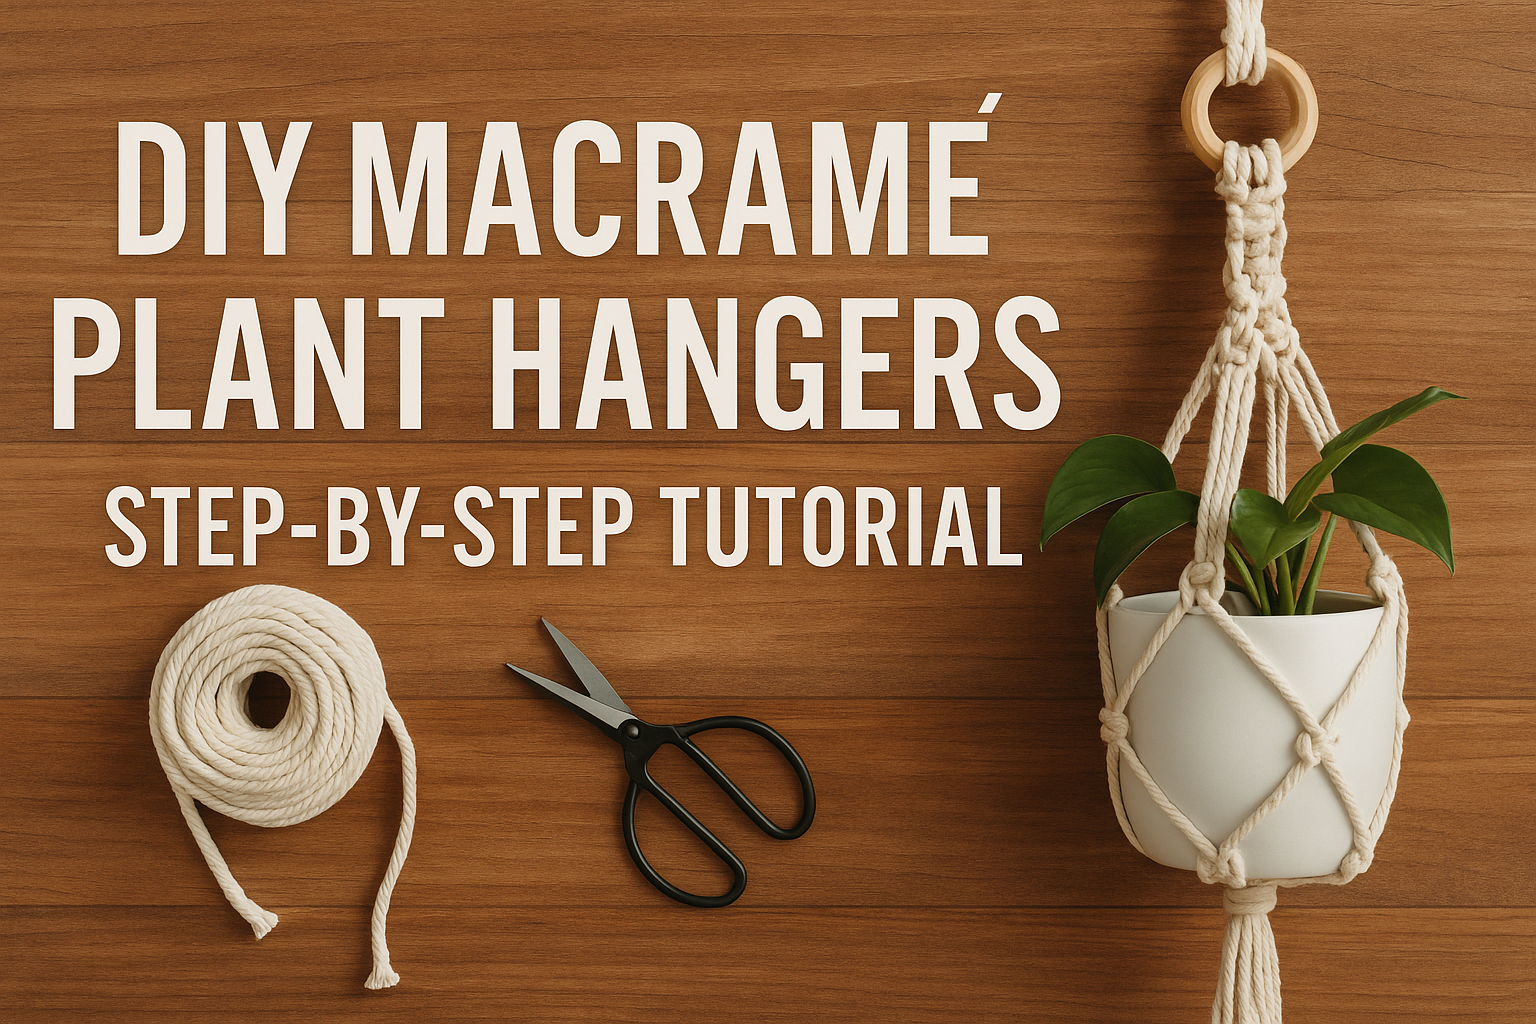
Ready to add a boho-chic touch to your indoor garden? This macramé plant hanger DIY guide will walk you through a plant hanger tutorial that’s perfect for beginners. With a few simple knots and some cotton cord, you’ll have a stylish hanger in no time.
1. Why Make Your Own Macramé Plant Hanger?
Handcrafting a macramé plant hanger lets you:
- Customize Size & Color: Choose cord thickness and dye to complement your décor.
- Save Money: DIY versions cost a fraction of store-bought hangers.
- Enjoy a Creative Project: Learn basic knots and unwind with a fun macramé crafts session.
2. Materials You’ll Need
Gather your supplies before starting this plant hanger tutorial:
- 3–4 skeins of 3–4 mm cotton macramé cord (about 100–120 feet total)
- A wooden or metal ring (2–3 inches diameter) for hanging
- Scissors
- Tape measure or ruler
- Optional: beads for accent
3. Step-by-Step Macramé Plant Hanger DIY
3.1 Prepare & Attach Cords
- Cut 8 strands of cord, each 12 feet long (adjust length for taller ceilings).
- Fold each strand in half and loop through the ring using a Lark’s Head Knot—pull tight so all cords hang evenly.
- You should now have 16 working ends hanging below the ring.
3.2 Create the Top Knot Section
- Separate into four groups of four cords each.
- For each group, tie a Square Knot about 3 inches below the ring. Ensure all knots sit level around the ring.
3.3 Form the Basket Weave
- Measure about 6–8 inches down from the first row of knots; this is where your next set of knots will go.
- Take two cords from adjacent Square Knots and tie another Square Knot. Repeat all the way around, creating a diamond pattern.
- Continue adding rows of interlaced Square Knots until you have a basket cradle about 5 inches tall.
3.4 Add Beads & Finish
- Slide decorative beads onto individual cords before tying the final gathering knot.
- Gather all cords together beneath the basket section and tie a large Overhand Knot or Gathering Knot, securing your planter.
- Trim ends to your desired fringe length—leave them long for a bohemian look, or trim short for a neat finish.
4. Hanging & Styling Tips
- Choose Lightweight Pots: Ensure pots aren’t too heavy—terracotta or plastic works best.
- Balance Height: Hang your planter so the bottom of the pot sits at eye level for easy watering.
- Combine Multiple Hangers: Create a grouping of different lengths to add depth to any corner.
5. Frequently Asked Questions
Q1: What size cord is best for macramé plant hangers?
A1: A 3–4 mm cotton cord strikes a balance between strength and ease of knotting for a sturdy yet stylish macramé plant hanger DIY.
Q2: Can I use synthetic cord?
A2: While synthetic cord is durable, natural cotton absorbs dyes better and provides the classic soft texture ideal for macramé crafts.
Q3: How do I care for my macramé hanger?
A3: Spot-clean with a damp cloth if dusty. Avoid hanging where cords will get soaked—most hangers aren’t intended for outdoor use.
6. Conclusion & Next Steps
Now that you’ve completed your plant hanger tutorial, it’s time to show off your new décor! Fill your hanger with a trailing pothos or a lush fern, and watch how this simple macramé plant hanger DIY elevates any room. Experiment with cord colors and bead accents to create a whole collection of handcrafted planters. Happy knotting!
If you enjoyed this project, share your creations or tag us on social media. Don’t forget to subscribe for more macramé crafts and home décor inspiration!


